Tutorial : Configuring MyFaces 2 to run on Google App Engine with IntelliJ IDEA
Google App Engine support for MyFaces 2 made trunk and it is released with MyFaces Core 2.0.0-beta-3. In this tutorial, I will explain how to use it with IntelliJ IDEA. I assume that you have basic IDEA, JSF and Facelets knowledge.
You can find IDE-independent instructions here. Additionally, there is a tutorial for Eclipse here.
Here is the complete source code and the IDEA project of the example application (which I took from Facelets Tutorial) that I configured to run on Google App Engine.
I deployed the application explained in this tutorial at: http://myfaces2-tutorial-idea.latest.aliok-com-tr-test.appspot.com/guess.jsf
In order to run Myfaces on Google App Engine, you need to complete the steps below. Configuration explained in this document is tested with Google App Engine 1.3.0.
If you're having trouble with the figures in this page, you can download all images from this link.
Requirements
- IntelliJ IDEA Ultimate Edition
- Google App Engine SDK
- MyFaces Core 2.0.0 Beta 3
- EL API and Impl
- Basic JSF and Facelets knowledge
- Google App Engine Account :)
Downloading and Configuration
- Download App Engine SDK and extract it to somewhere.
- Download MyFaces Core 2.0.0 Beta 3 (or a later version) and extract it.
- Download EL API and EL Impl jars.
- We need IntelliJ IDEA http://www.jetbrains.com/idea/download/. Community edition doesn't have JavaEE support, thus Google App Engine Plugin doesn't work on it. I downloaded and installed IDEA version 9.0.1, and I don't know this plugin works for older versions of the IDE.
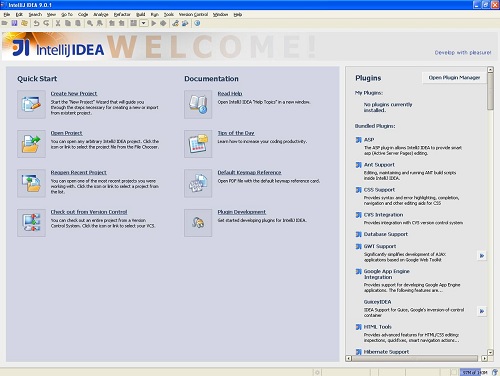
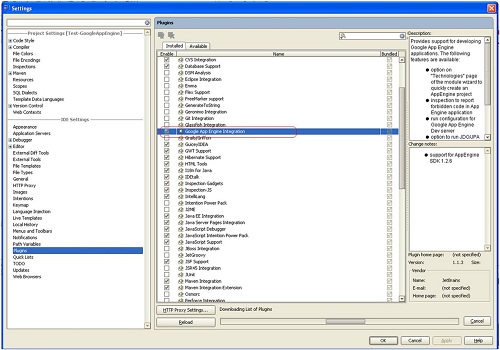
- After installing the IDE and running for the first time, the IDE asked me which plugins that I want. I selected "Google App Engine Integration" and its dependencies. If you have an existing installation, make sure you have "Google App Engine Integration" plugin installed and enabled.
- Next, we will define our App Engine Devl Server.
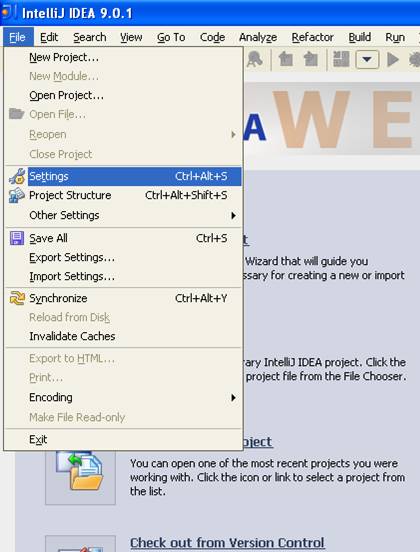
- To do this, navigate to IDE settings.
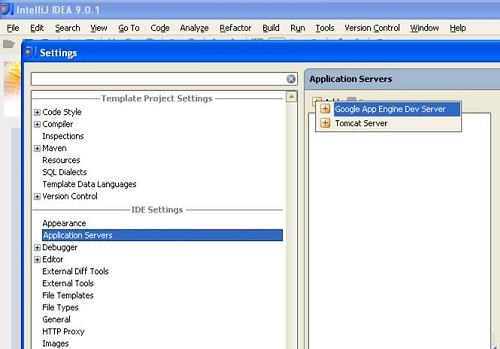
- Select "Application Servers" and click "Add" button. Select "Google App Engine Dev Server".
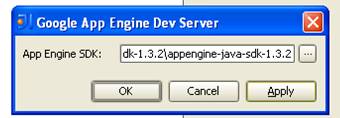
- Select the path of the App Engine SDK.
- You will see some JARS under the "Classes" node.

- To do this, navigate to IDE settings.
Creating and Configuring the Project
- First, we will create a new project:
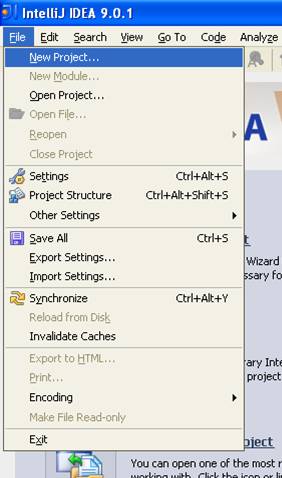
- Press "File - > New Project"
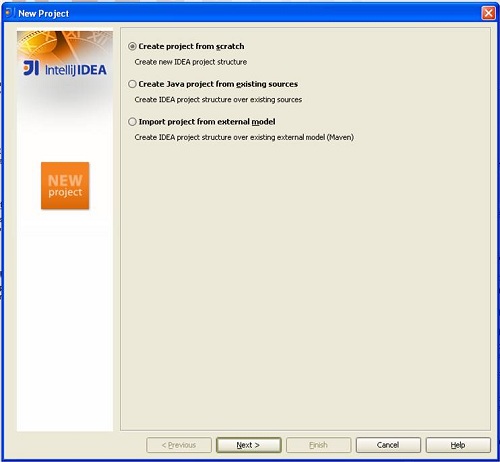
- We will create the project from scratch. So, select it and press next.
- Type the project name, and select "Java Module".
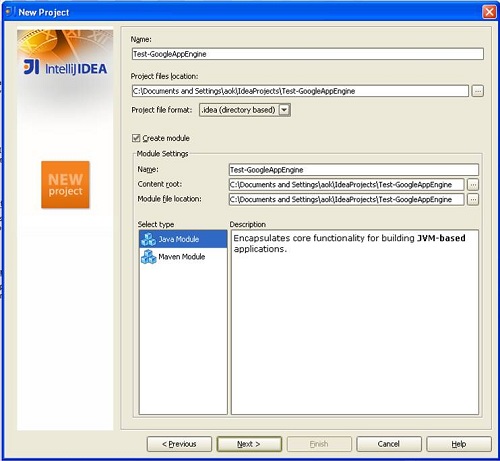
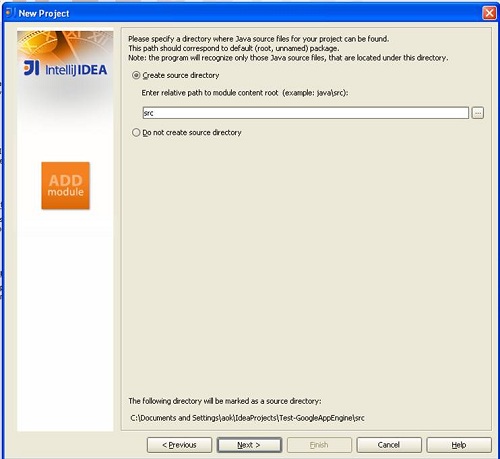
- Let IDEA crete a source directory for us.
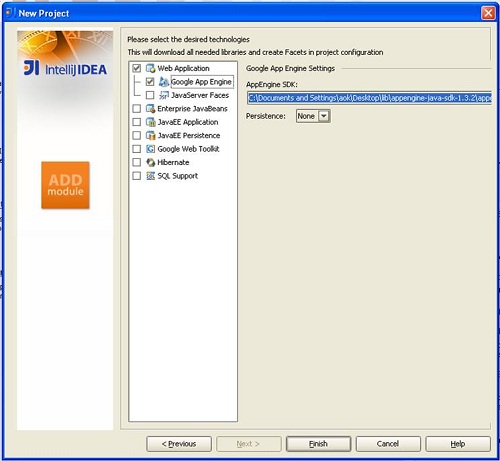
- On this screen, select "Web Application" and "Google App Engine" nodes. Altough we will create a JSF project, don't select the "JavaServer Faces" node since IDEA doesn't support MyFaces 2 yet. After making sure the AppEngine SDK path is correct, press "Finish" and IDEA will create the project.
- Press "File - > New Project"
- Now, we will add the MyFaces jars as an "External Library". I did this step to solve compilation problems in my managed beans. Without explicitly adding an External Library, "javax.faces" namespace is not visible in my managed beans �which we will create in the next steps- even if the jars exist in "WEB-INF/lib". I am sure an experienced IDEA user can solve this problem in a better way.
- Right-click on the project and select "Module Settings".
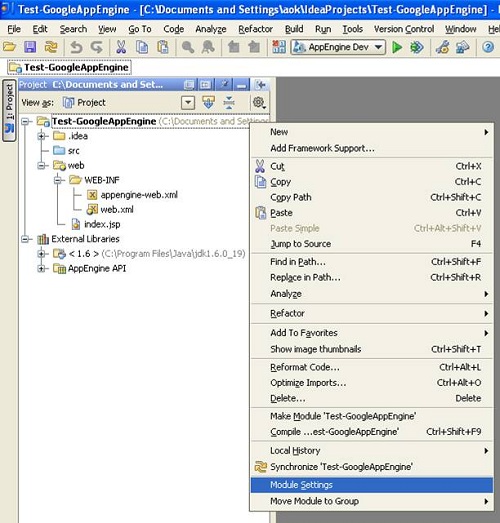
- You will see a screen like the one below.
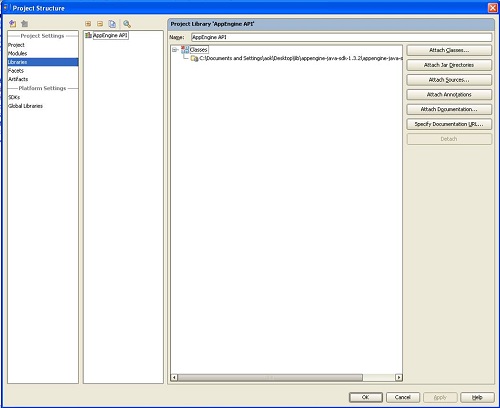
- Press the "+" button, type "MyFaces 2 Beta 3" and press "OK".
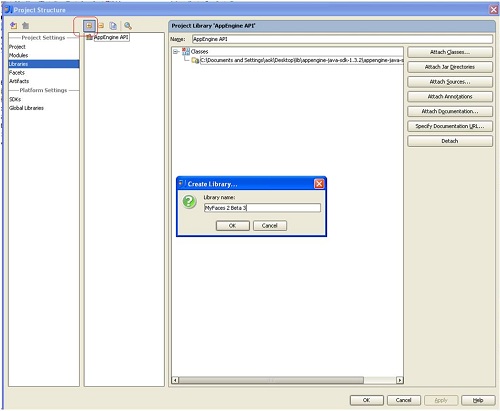
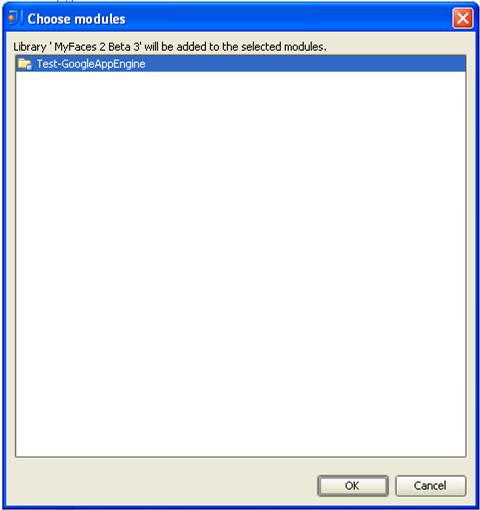
- IDEA will ask which modules to add the library. Select the project you've created and press "OK".
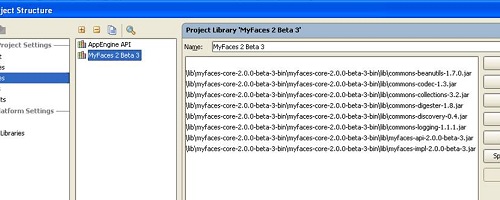
- Now we will "attach" MyFaces2 jars. While the newly created library "MyFaces 2 Beta 3" is selected, press "Attach Classes" button and select the MyFaces (and dependencies) jars.
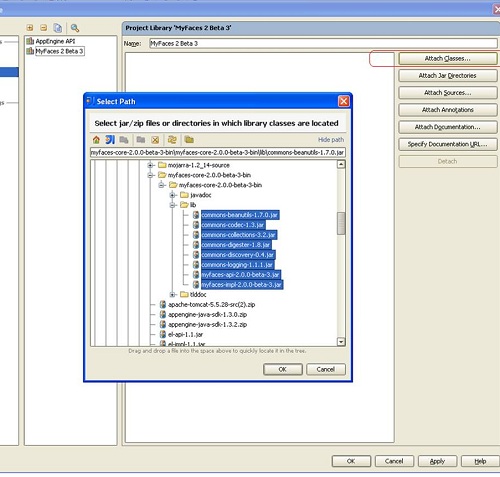
- You should have a screen like below. Press "OK".
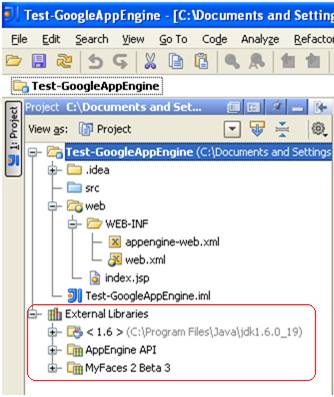
- Here is the external libraries so far:
- Right-click on the project and select "Module Settings".
- Put necessary jars into "WEB-INF/lib":
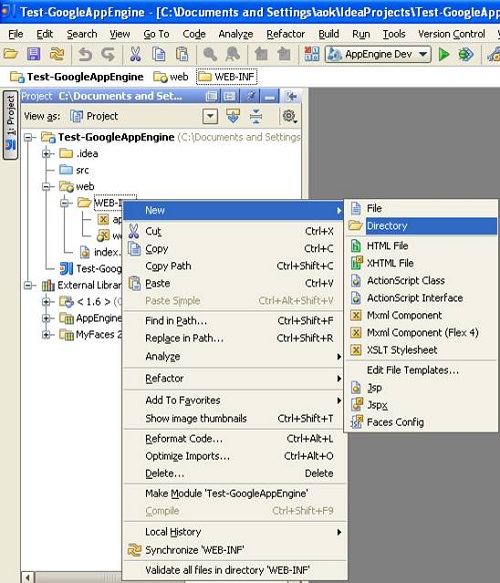
- By default, IDEA does not create a "lib" folder under "WEB-INF". So we need to create one. Right-click on "WEB-INF" folder and select "New - > Directory".
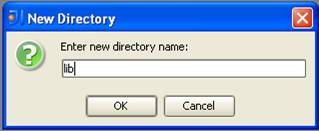
- Type "lib" and press OK.
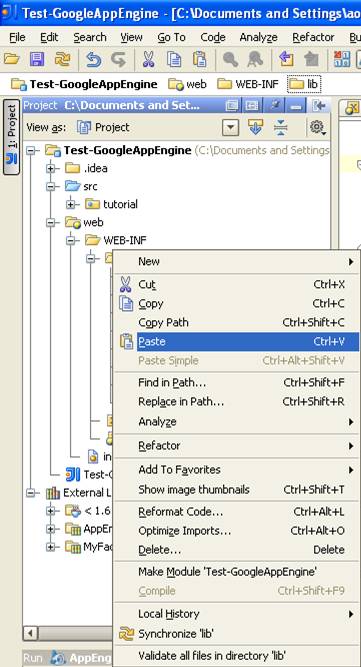
- Copy the jars from the MyFaces release (myfaces-api-2.x.x.jar, lib/myfaces-impl-2.x.x.jar, lib/commons-logging-1.x.x.jar, lib/commons-beanutils-1.x.x.jar, lib/commons-codec-1.x.jar, commons-collections-3.x.jar, lib/commons-digester-x.x.jar, lib/commons-discovery-0.x.jar) and paste them into "WEB-INF/lib".
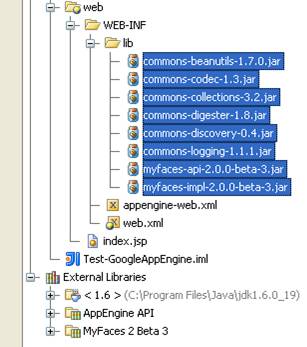
- Here is the "WEB-INF/lib" jars so far:
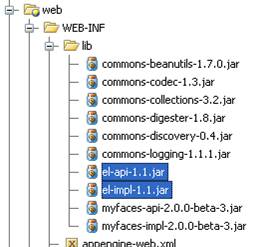
- Put el-api-x.x.jar and el-impl-1.1.jar �which you've downloaded at step 3 of "Downloading and Configuration" section- into "WEB-INF/lib".
- By default, IDEA does not create a "lib" folder under "WEB-INF". So we need to create one. Right-click on "WEB-INF" folder and select "New - > Directory".
- XML configuration:
- Put the lines below into your web.xml file:
<web-app ...
   ...
   <!--
      We need to set annotation lifecycle provider manually as org.apache.myfaces.config.annotation.NoInjectionAnnotationLifecycleProvider.
      Other providers use some classes that are restricted on Google App Engine.
   -->
   <context-param>
      <param-name>
         org.apache.myfaces.config.annotation.LifecycleProvider
      </param-name>
      <param-value>
         org.apache.myfaces.config.annotation.NoInjectionAnnotationLifecycleProvider
      </param-value>
   </context-param>

   <!--
      Need to set a secret to avoid javax.crypto.BadPaddingException.
      "param-value" must be Base64 encoded.
      More details: http://wiki.apache.org/myfaces/Secure_Your_Application
   -->
   <context-param>
      <param-name>org.apache.myfaces.SECRET</param-name>
      <param-value>NzY1NDMyMTA=</param-value>
   </context-param>

   <!--
      Facelets configuration fragment
   -->
   <context-param>
      <param-name>javax.faces.DEFAULT_SUFFIX</param-name>
      <param-value>.xhtml</param-value>
   </context-param>

   <servlet>
      <servlet-name>Faces Servlet</servlet-name>
      <servlet-class>javax.faces.webapp.FacesServlet</servlet-class>
   </servlet>

   <servlet-mapping>
      <servlet-name>Faces Servlet</servlet-name>
      <url-pattern>*.jsf</url-pattern>
   </servlet-mapping>
   ...
</web-app>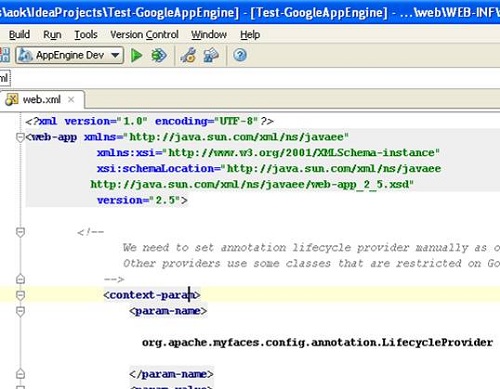
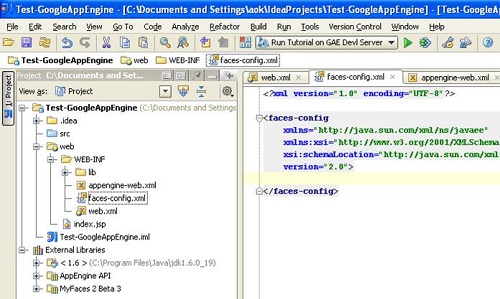
- Create a "faces-config.xml" file under your "WEB-INF" folder, and make sure that you use the JSF 2 header in it.
<?xml version="1.0"  encoding="UTF-8"?>

<faces-config
   xmlns="http://java.sun.com/xml/ns/javaee"
   xmlns:xsi="http://www.w3.org/2001/XMLSchema-instance"
   xsi:schemaLocation="http://java.sun.com/xml/ns/javaee http://java.sun.com/xml/ns/javaee/web-facesconfig_2_0.xsd"
   version="2.0">
   ...
</faces-config>
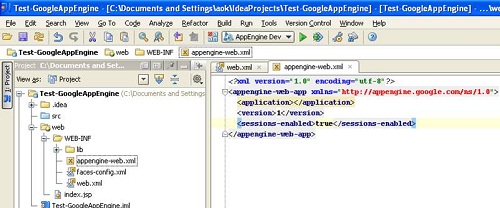
- Add the following line into war/WEB-INF/appengine-web.xml:
<sessions-enabled>true</sessions-enabled>
- Put the lines below into your web.xml file:
- Now you can add your pages, beans etc. You cannot use JSP as view technology on Google App Engine. You must use Facelets, which is the default view technology in JSF 2.
Here is the complete source code and the IDEA project of the example application (which I took from Facelets Tutorial) that I configured to run on Google App Engine.
Deploying to App Engine Development Server (Your Local Server)
- We need to define a run configuration.
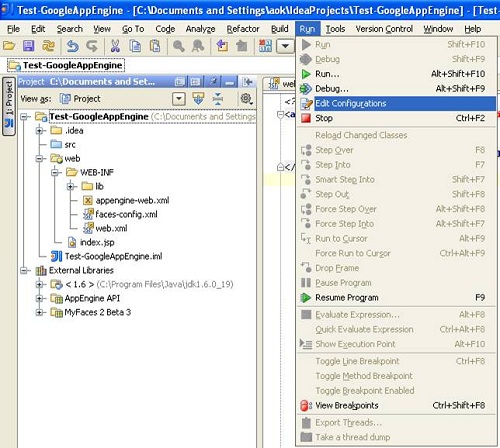
- Select "Run - > Edit Configurations"
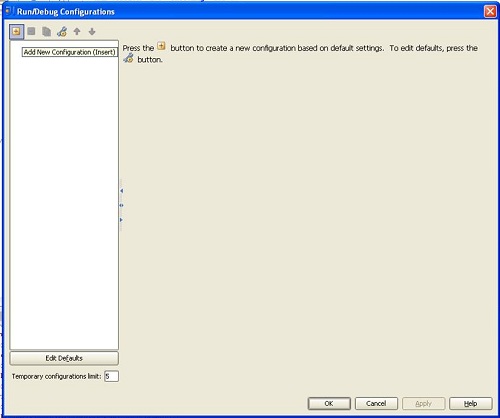
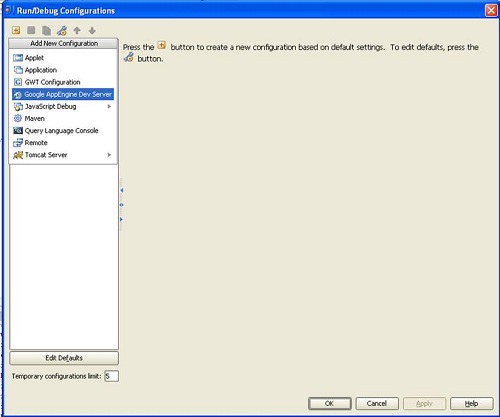
- Press "+" button to add a new configuration.
- Select "Google AppEngine Dev Server".
- Type the configuration name, and make sure your screen seems like this:
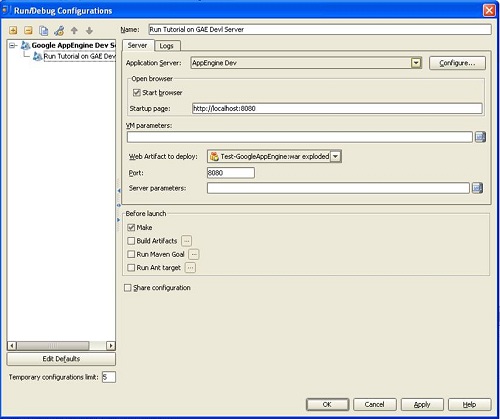
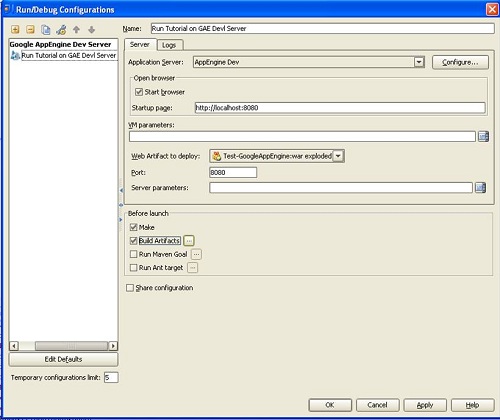
- Select "Build Artifacts" and click "..." button. We will configure, what to export.
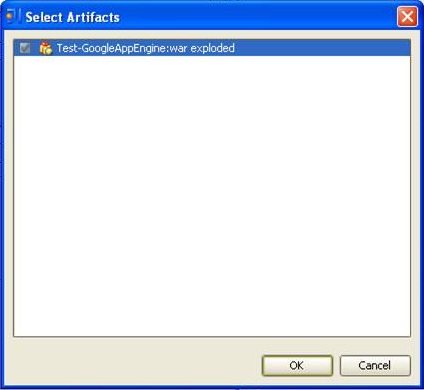
- Select "Test-GoogleAppEngine:war exploded".
- Type the configuration name, and make sure your screen seems like this:
- Select "Run - > Edit Configurations"
- Now, you can see the configuration you've defined next to "Run" button.
- Select your run configuration and press "Run".

- You will see MyFaces logs on the console. You shouldn't see any exception at this step. If you saw one, make sure you've completed all steps above.
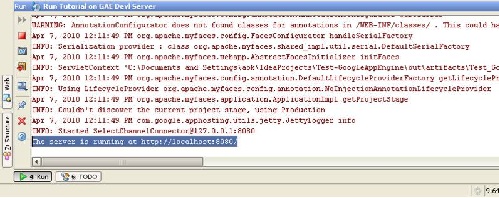
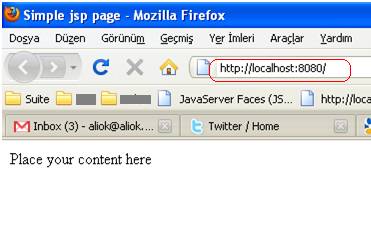
- You can see your application at "localhost:8080". IDEA created a dummy index.jsp before, so it is normal to see "Place your content here" text.
- You can stop the GAE Devl Server by pressing stop button.
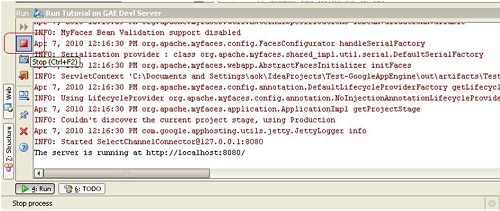
- You will see MyFaces logs on the console. You shouldn't see any exception at this step. If you saw one, make sure you've completed all steps above.
- Select your run configuration and press "Run".
Running Facelets Tutorial Example
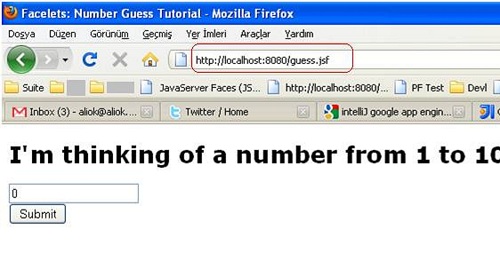
I've configured a project to run on Google App Engine, which you can find the sources here. You can simply copy the files guess.xhtml, response.xhtml, template.xhtml and NumberBean.java to appropriate locations.
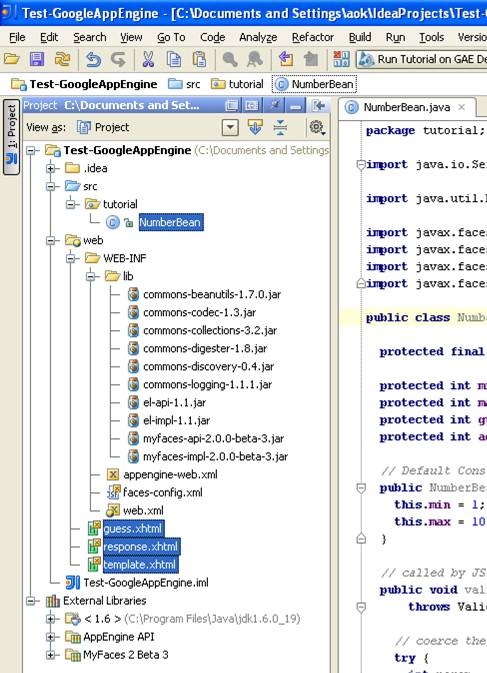
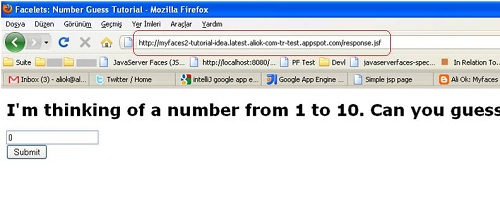
You can see the application running below.
Deploying to App Engine
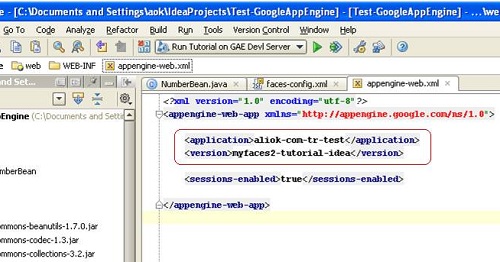
- You need to set application name and version in appengine-web.xml file. You can see my config below. "application" is your application id at Google App Engine (AppSpot Id), and version is anything you like.
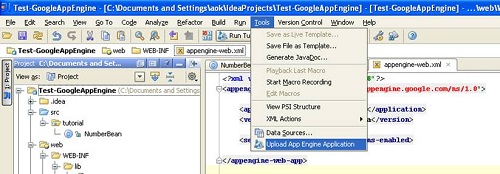
- You can upload the application by selecting "Tools - > Upload App Engine Application".
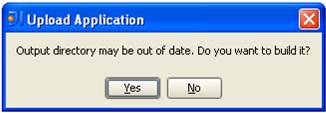
- IDEA will ask about building. Build the project by clicking "Yes".
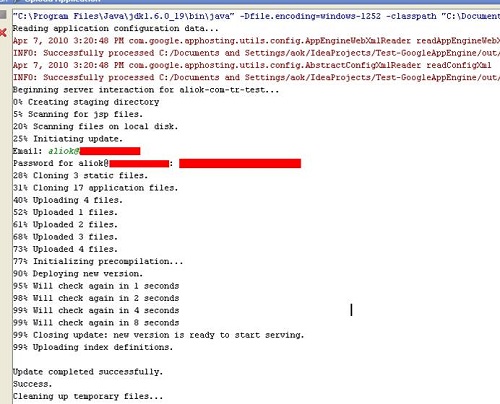
- Now, IDEA will use AppEngine SDK's batch jobs to upload application. You will be asked your email and password. You can see the output of my upload below.
- Your application is hosted at Google App Engine now. You can see this version of the application at "Versions" page of Google App Engine administration screen. Your application is hosted at version-I-specified.latest.application-ID.appspot.com
